Customizing furniture often starts with updating the seating. Building a new seat cushion from scratch is a highly practical upholstery project that requires only basic hand tools and standard materials. Whether restoring an old dining chair or building a new bench, creating a sturdy, comfortable cushion involves measuring, cutting, and stapling components together. The right technique ensures a smooth, tight finish without requiring advanced woodworking or sewing skills. Careful preparation and methodical assembly yield professional results.
Required Materials and Tools
Gathering the correct supplies ensures a smooth building process. The project requires the following items:
- Staple gun
- Wooden board
- Foam rubber
- Fabric
- Saw
- Pencil
- Scissors
Step-by-Step Construction Process
Preparing the Wooden Base
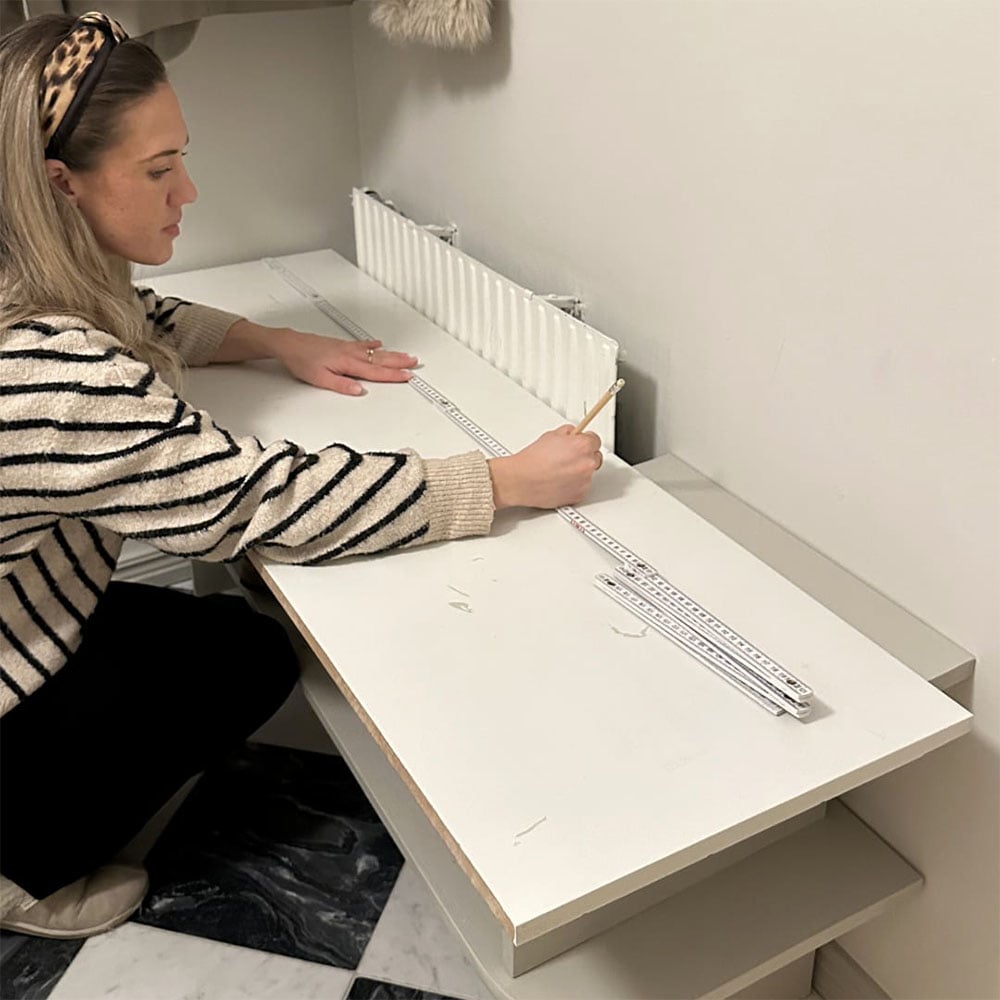
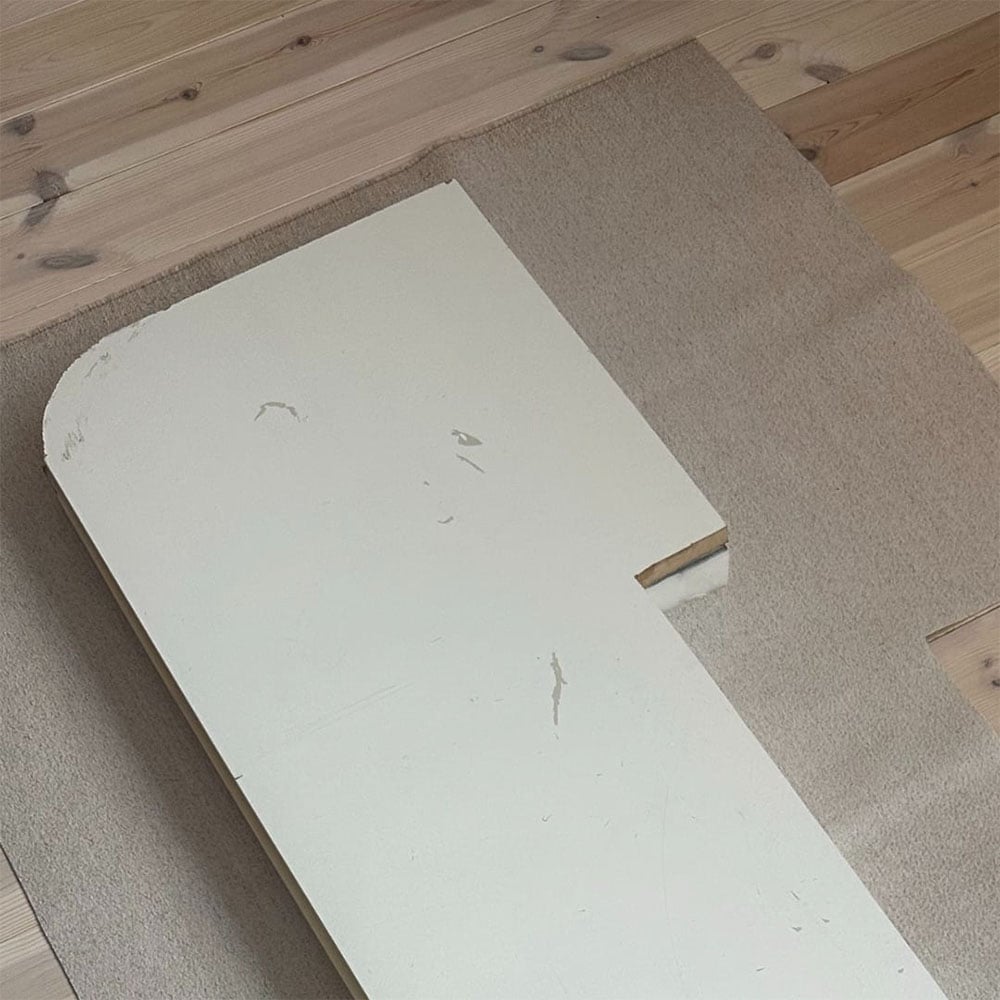
Accurate measurements determine the shape and fit of the final cushion. A pencil marks the clear cut lines directly onto the wooden board. These lines indicate exactly where the board needs sizing to fit the specific furniture piece. A saw cuts the board along these exact markings to create the solid base.
Cutting the Foam Padding
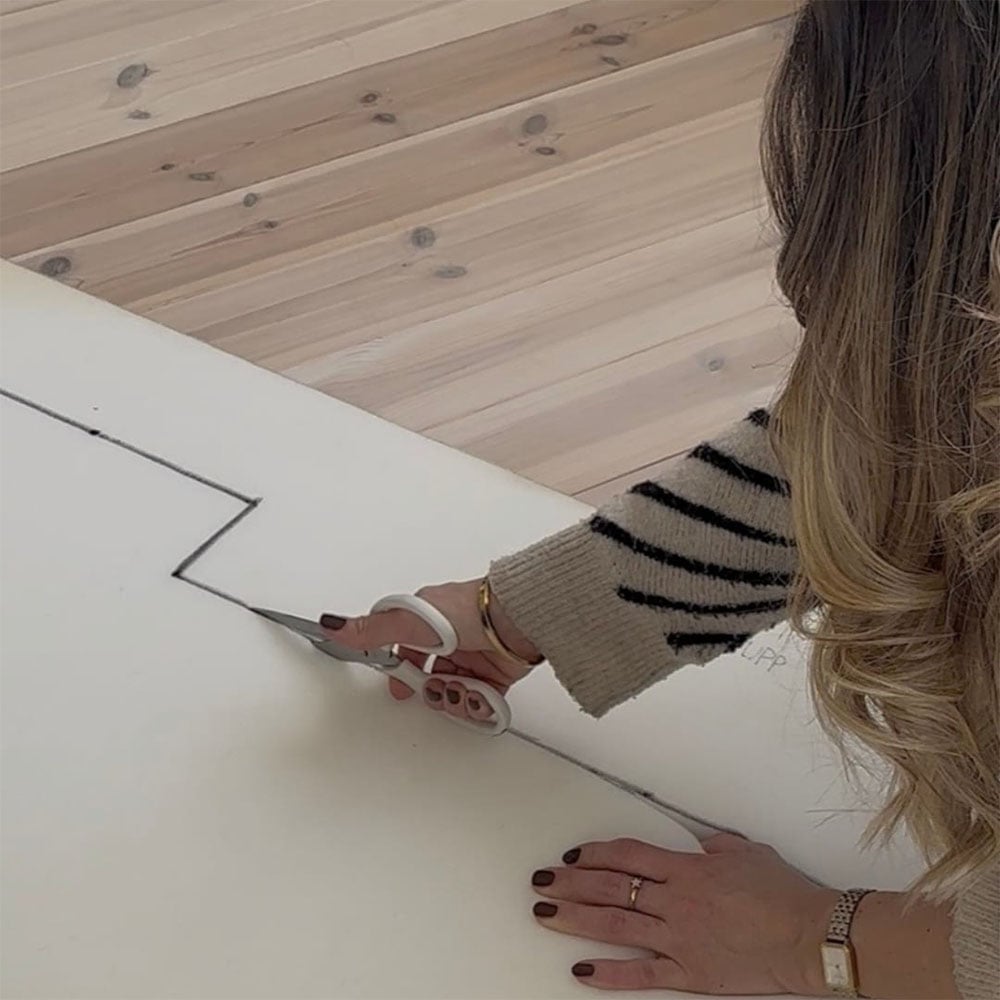
The newly cut wooden board acts as a precise template for the padding. Placing the board directly on top of the foam rubber allows for easy tracing around the entire perimeter. Once the pencil marks the outline, scissors cut the foam rubber along the traced lines. This ensures the foam perfectly matches the dimensions of the wooden base.
Assembling and Upholstering
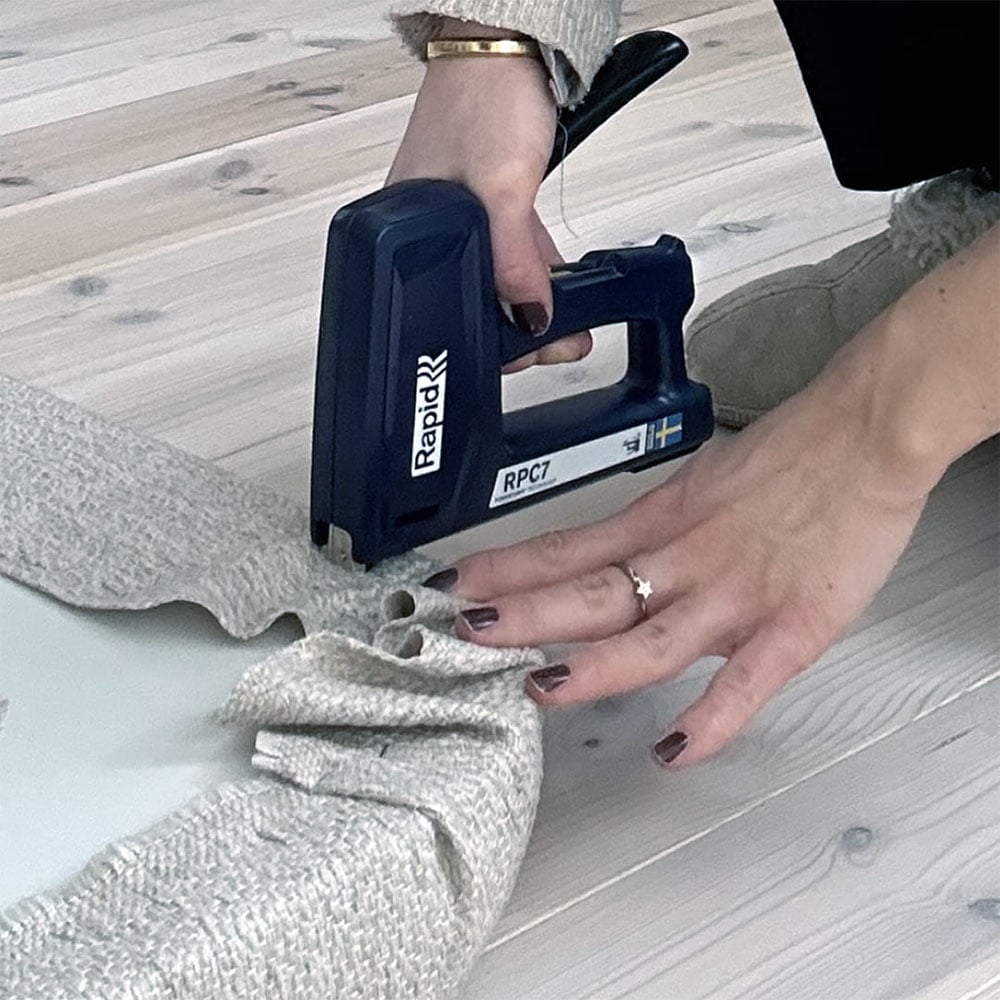
Assembly happens upside down to hide the staples and raw edges. The fabric lies completely flat on an even surface with the wrong side (the inside) facing up. The fitted foam rubber sits directly on the center of the fabric, followed by the wooden board placed evenly on top of the foam.
The fabric then folds tightly over the edges of the wood. A Rapid staple gun secures the material to the underside of the wooden board. The stapling process must start at the center of each side. From the center, the staples progress outward toward the corners. This specific technique stretches the fabric evenly across the foam and prevents wrinkles from forming on the visible side.
Final Placement
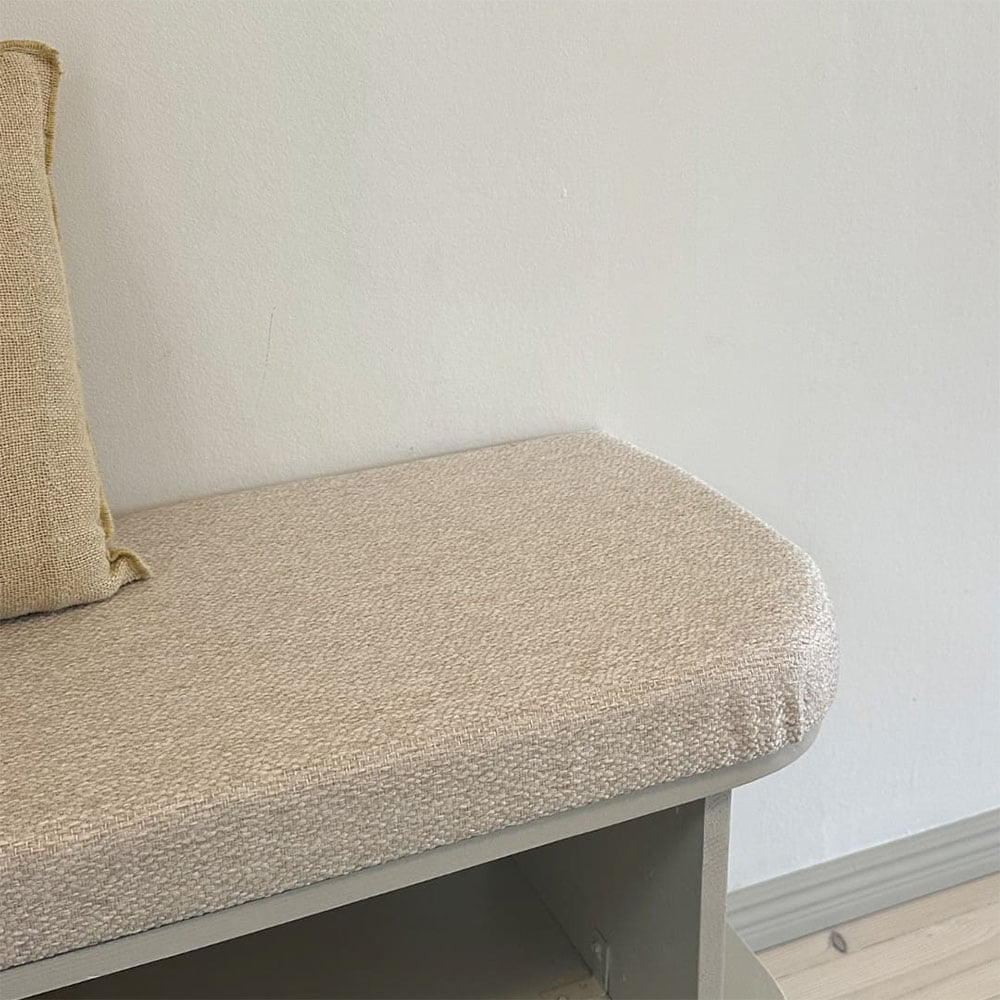
Once all sides are securely stapled and the corners are folded neatly flat, the cushion is complete. The finished seat cushion is ready for immediate placement on the furniture frame.
FAQ Section
What is the best way to staple fabric on a seat cushion?
Securing fabric requires starting at the center of each side and working outward toward the corners. This technique pulls the material taut, distributes tension evenly, and prevents wrinkles on the top surface.
What materials are needed to build a custom seat cushion?
The basic components include a wooden board for the base, foam rubber for padding, upholstery fabric, a staple gun, a saw, scissors, and a pencil.
Which side of the fabric should face up during assembly?
The fabric should lay flat on the workspace with the wrong side (the back or unprinted side) facing up. The foam and wooden board sit on top of this side before the fabric folds over the edges for stapling.
Can scissors cut upholstery foam?
Yes, standard scissors can cut thinner foam rubber effectively. For very thick foam, an electric carving knife or a specialized foam saw provides a cleaner edge.
Key Takeaways
- Accurate measurement and marking of the wooden base dictate the final shape and fit of the cushion.
- Layering materials in the correct order—fabric, foam, then wood—makes the upholstery process efficient and manageable.
- Stapling the fabric from the center of each side outward guarantees a tight, wrinkle-free surface.
- Basic hand tools, including a saw, scissors, and a reliable staple gun, are the only required equipment for this project.

