What You'll Need
- 45×45 cm wooden battens
- Screwdriver + screws
- Primer oil + wood paint
- Saw
- Heavy-duty scissors
- Staple gun + staples
- Chicken wire
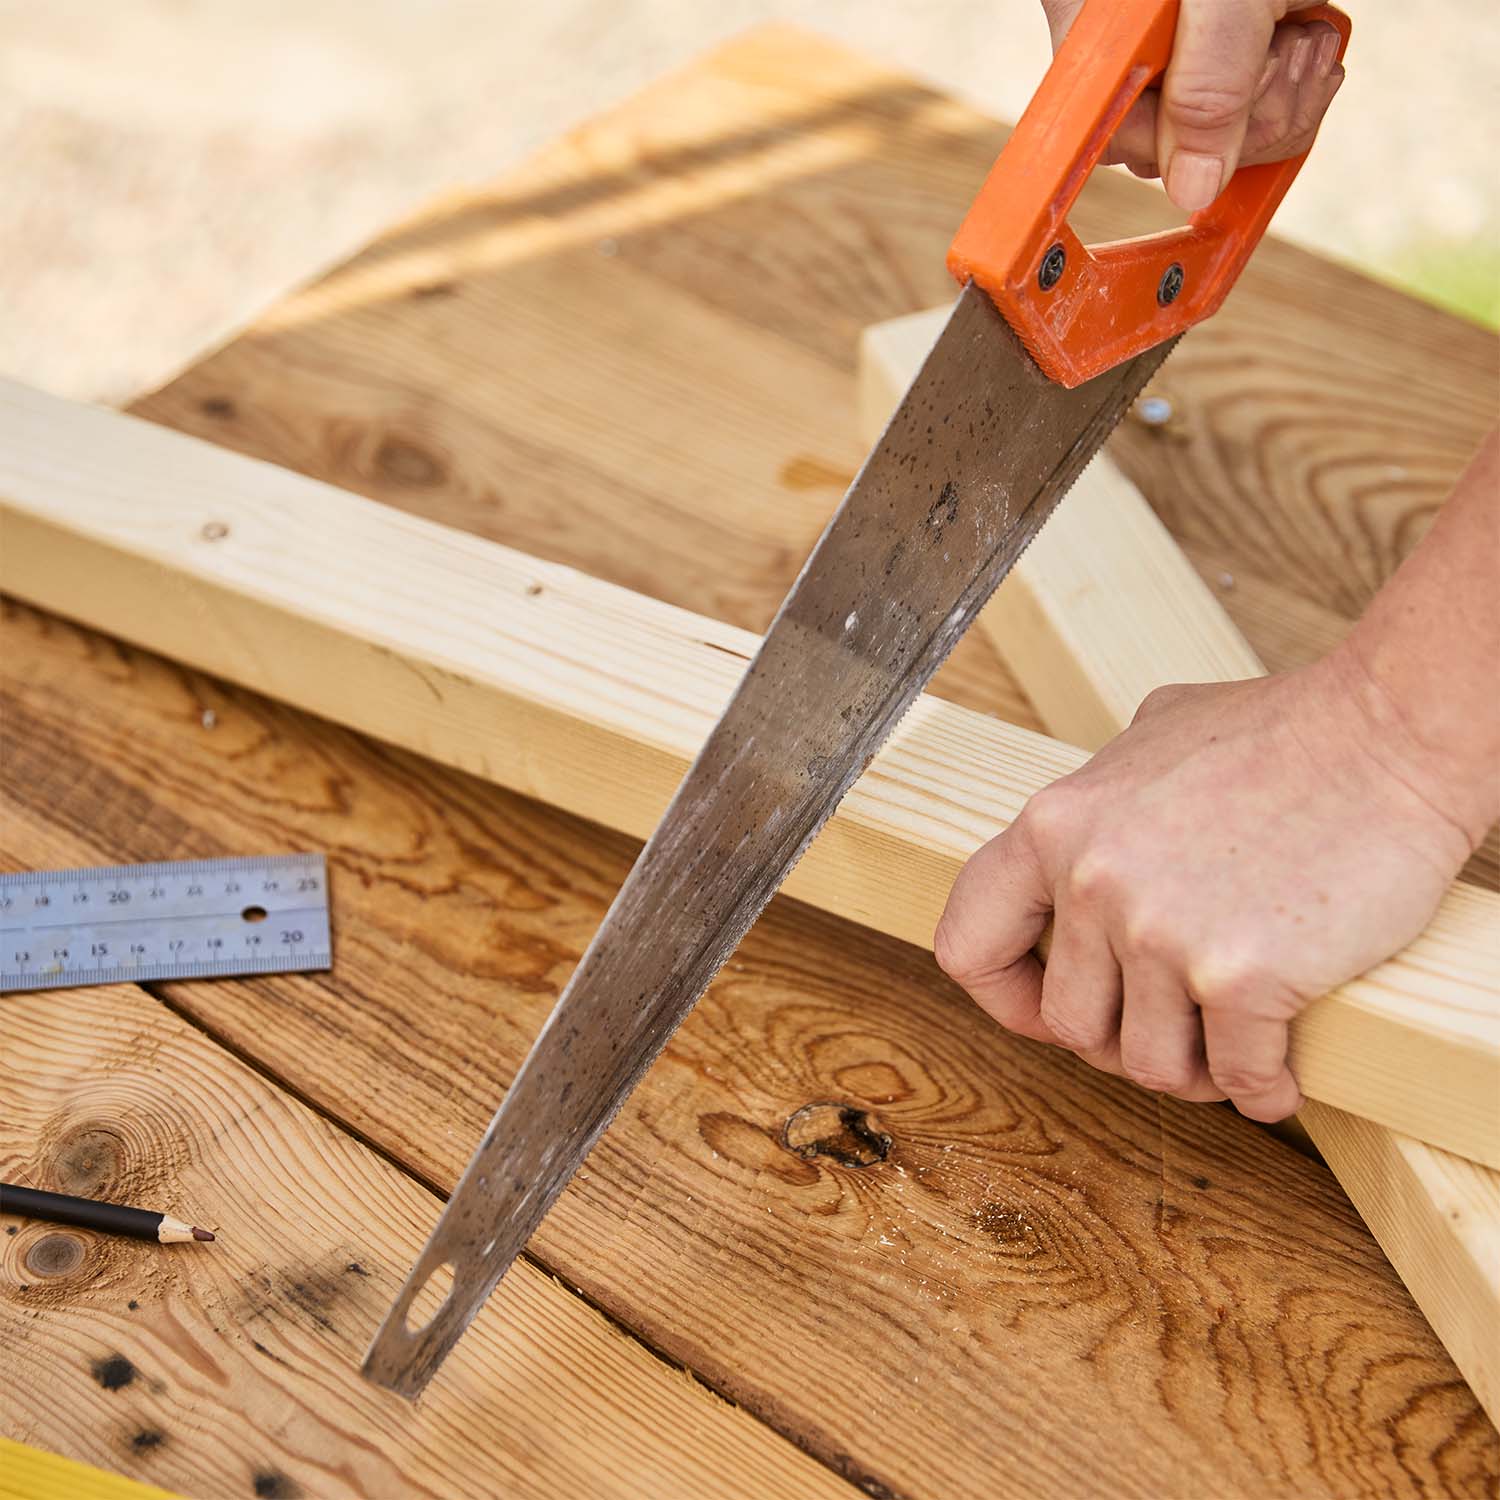
Step 1 — Cut the Wooden Pieces
Start by cutting all the wooden battens to length:
- Legs: 2 pieces, 190 cm
- Roof: 2 pieces, 180 cm
- Slats: 6 pieces, 66 cm
Feel free to adjust the measurements to suit your garden’s layout or the height you prefer.
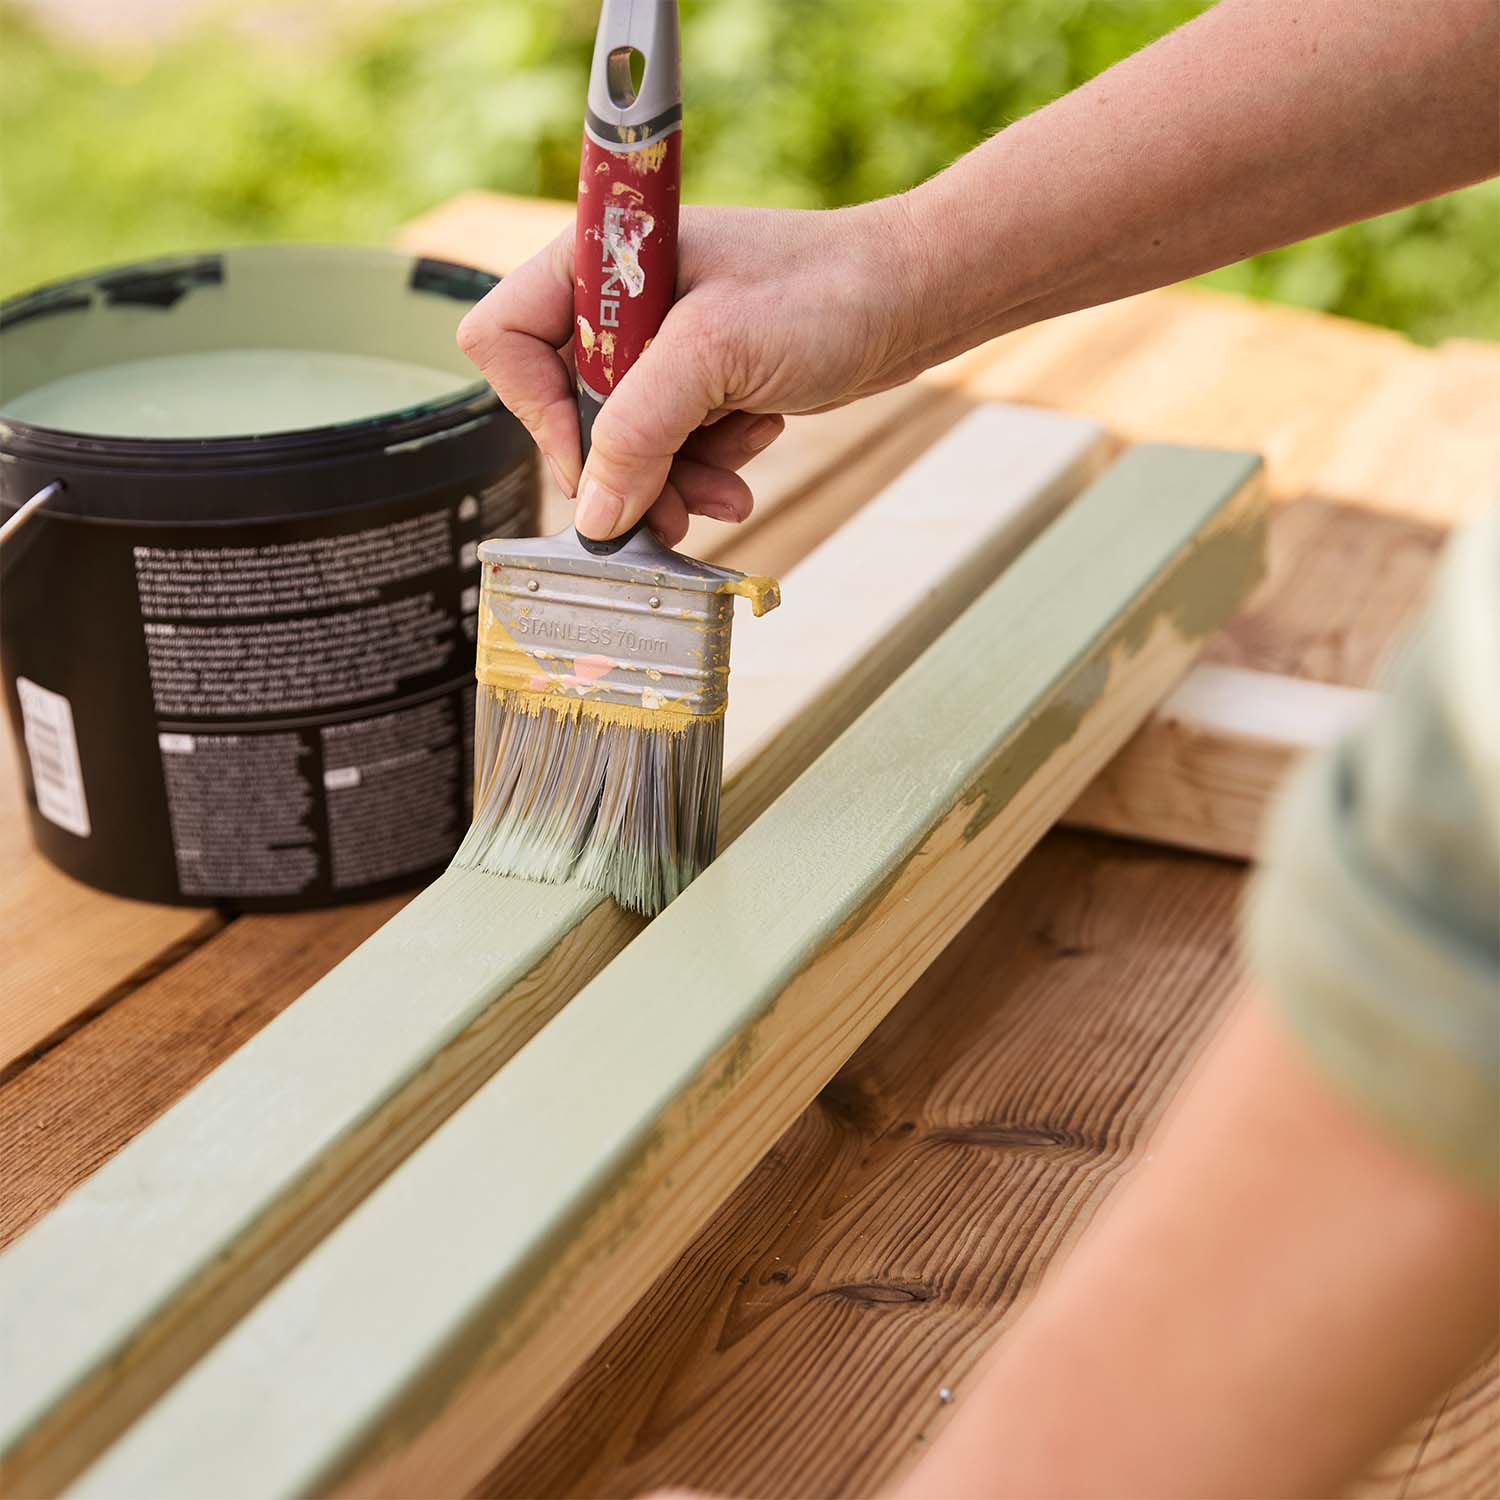
Step 2 — Prime and Paint
Apply primer oil to every wooden piece to protect it from moisture.
Let it dry completely, then follow up with two coats of wood paint.
The colour used in the example is NCS 3517-G42Y, a fresh, natural tone that blends beautifully into outdoor spaces.
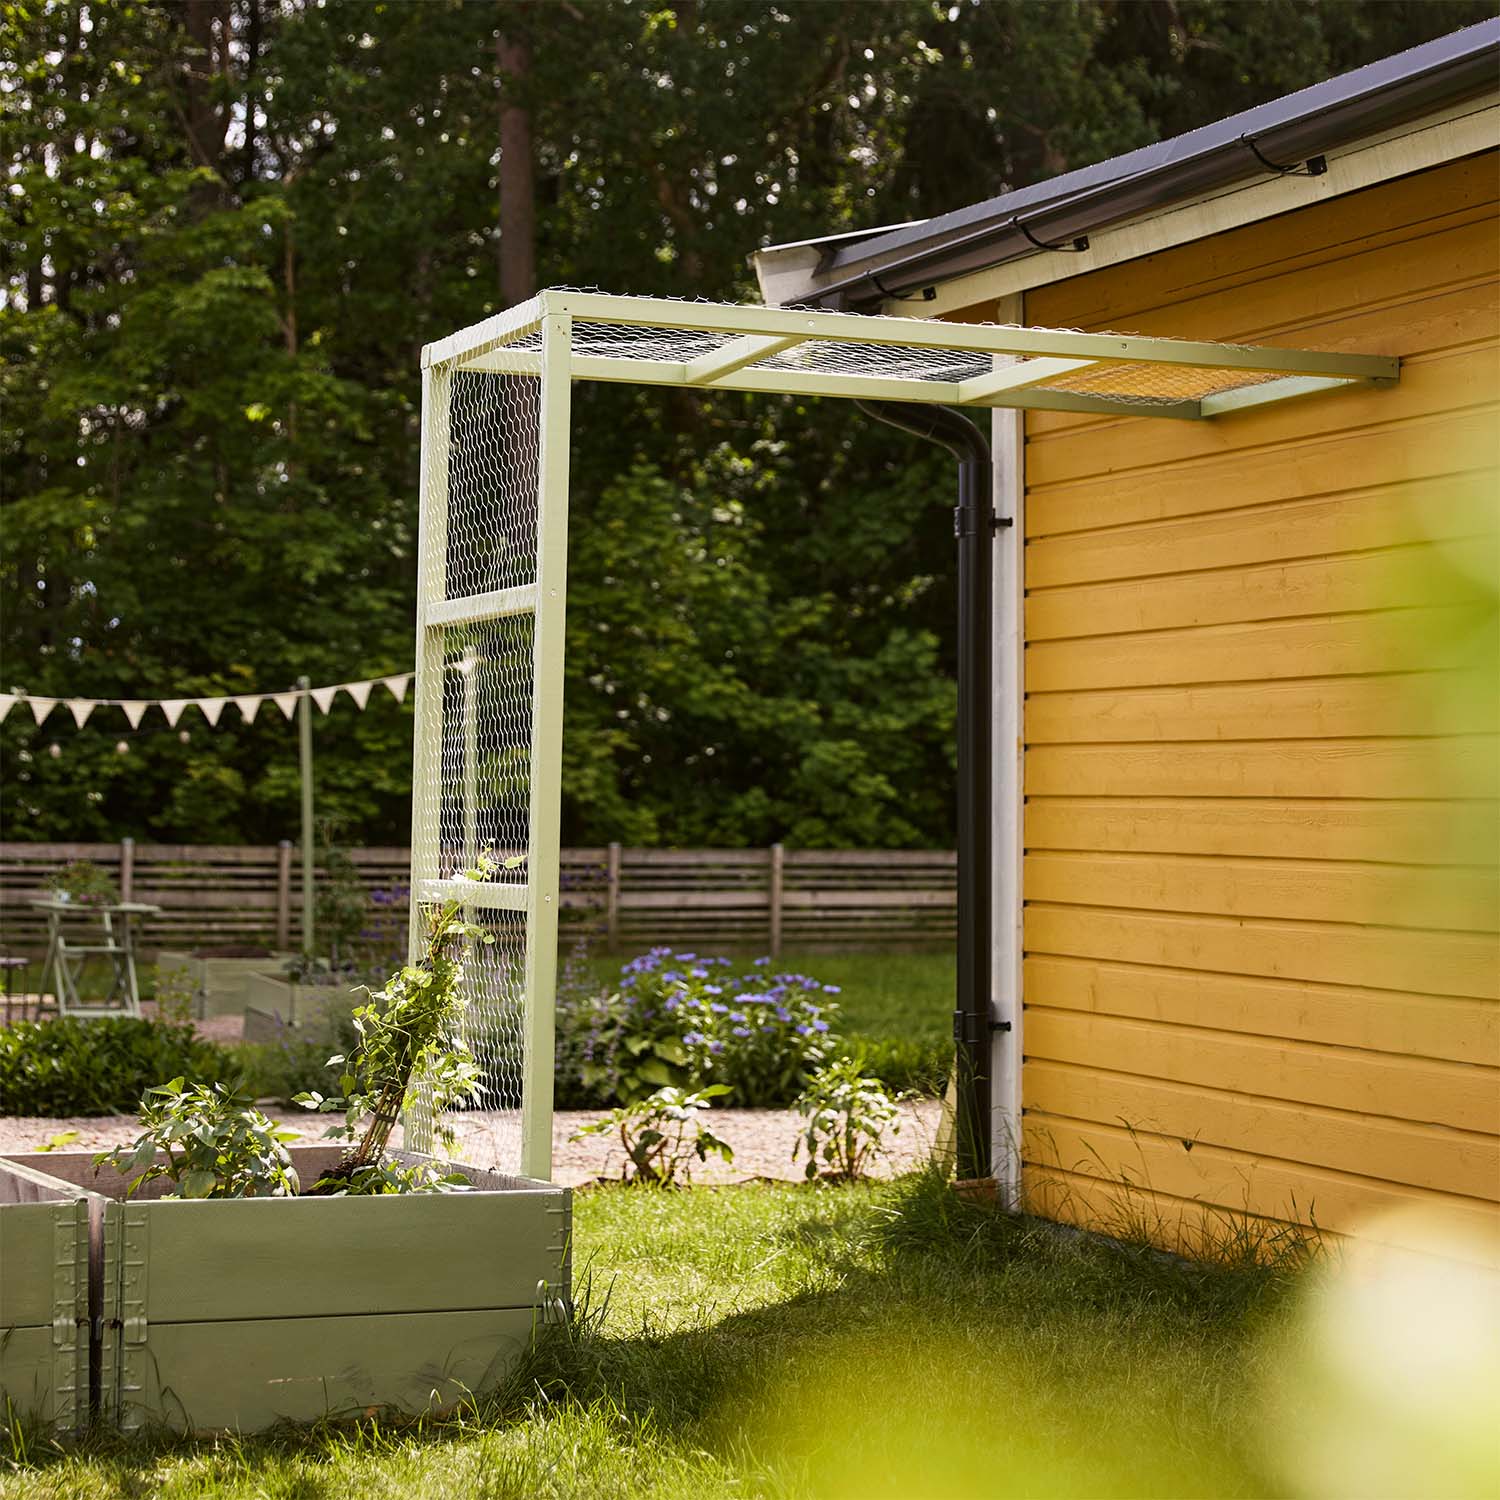
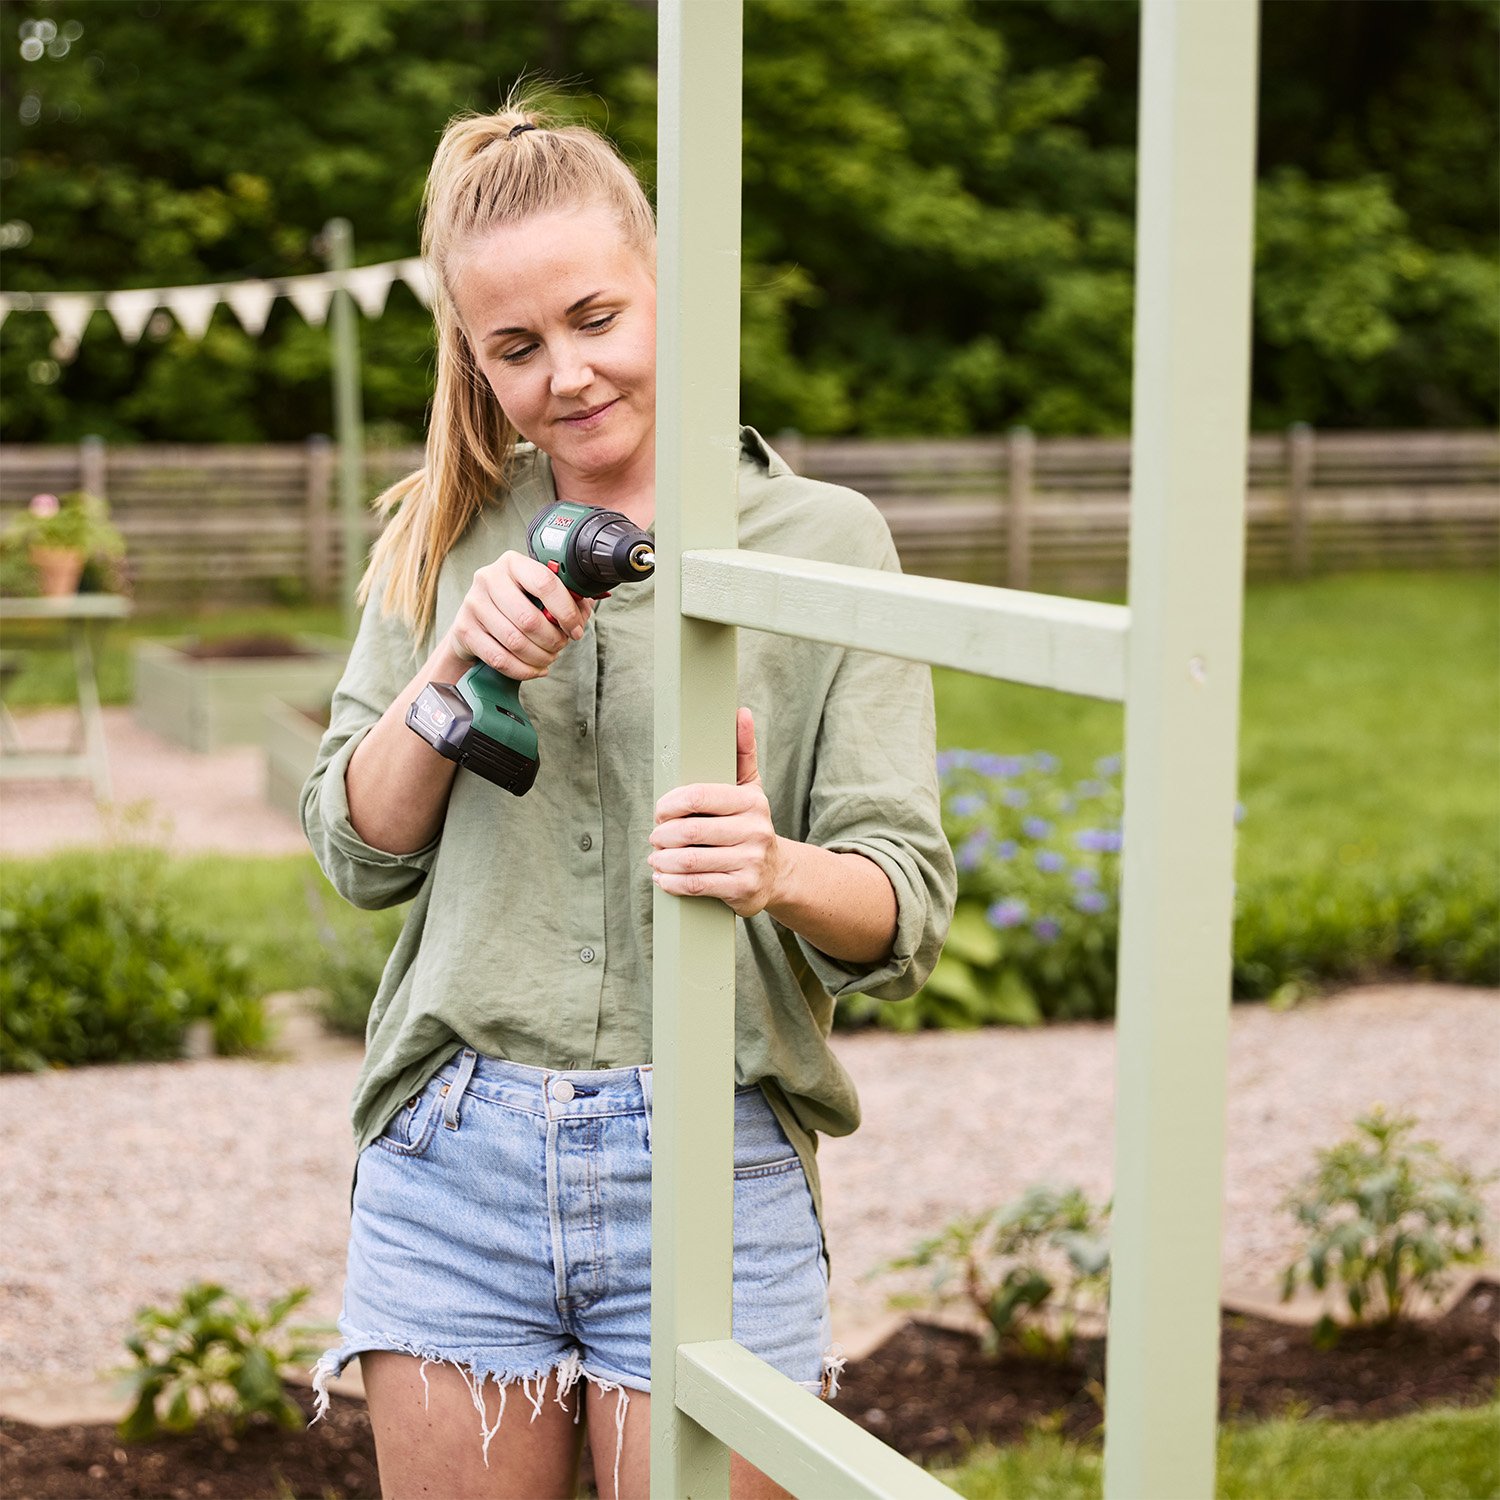
Step 3 — Assemble the Frame
Screw the slats onto the legs and the roof sections to form the shape of your archway.
Once assembled, secure the structure to a wall or a planter box to make sure it stays stable — especially in windy weather.
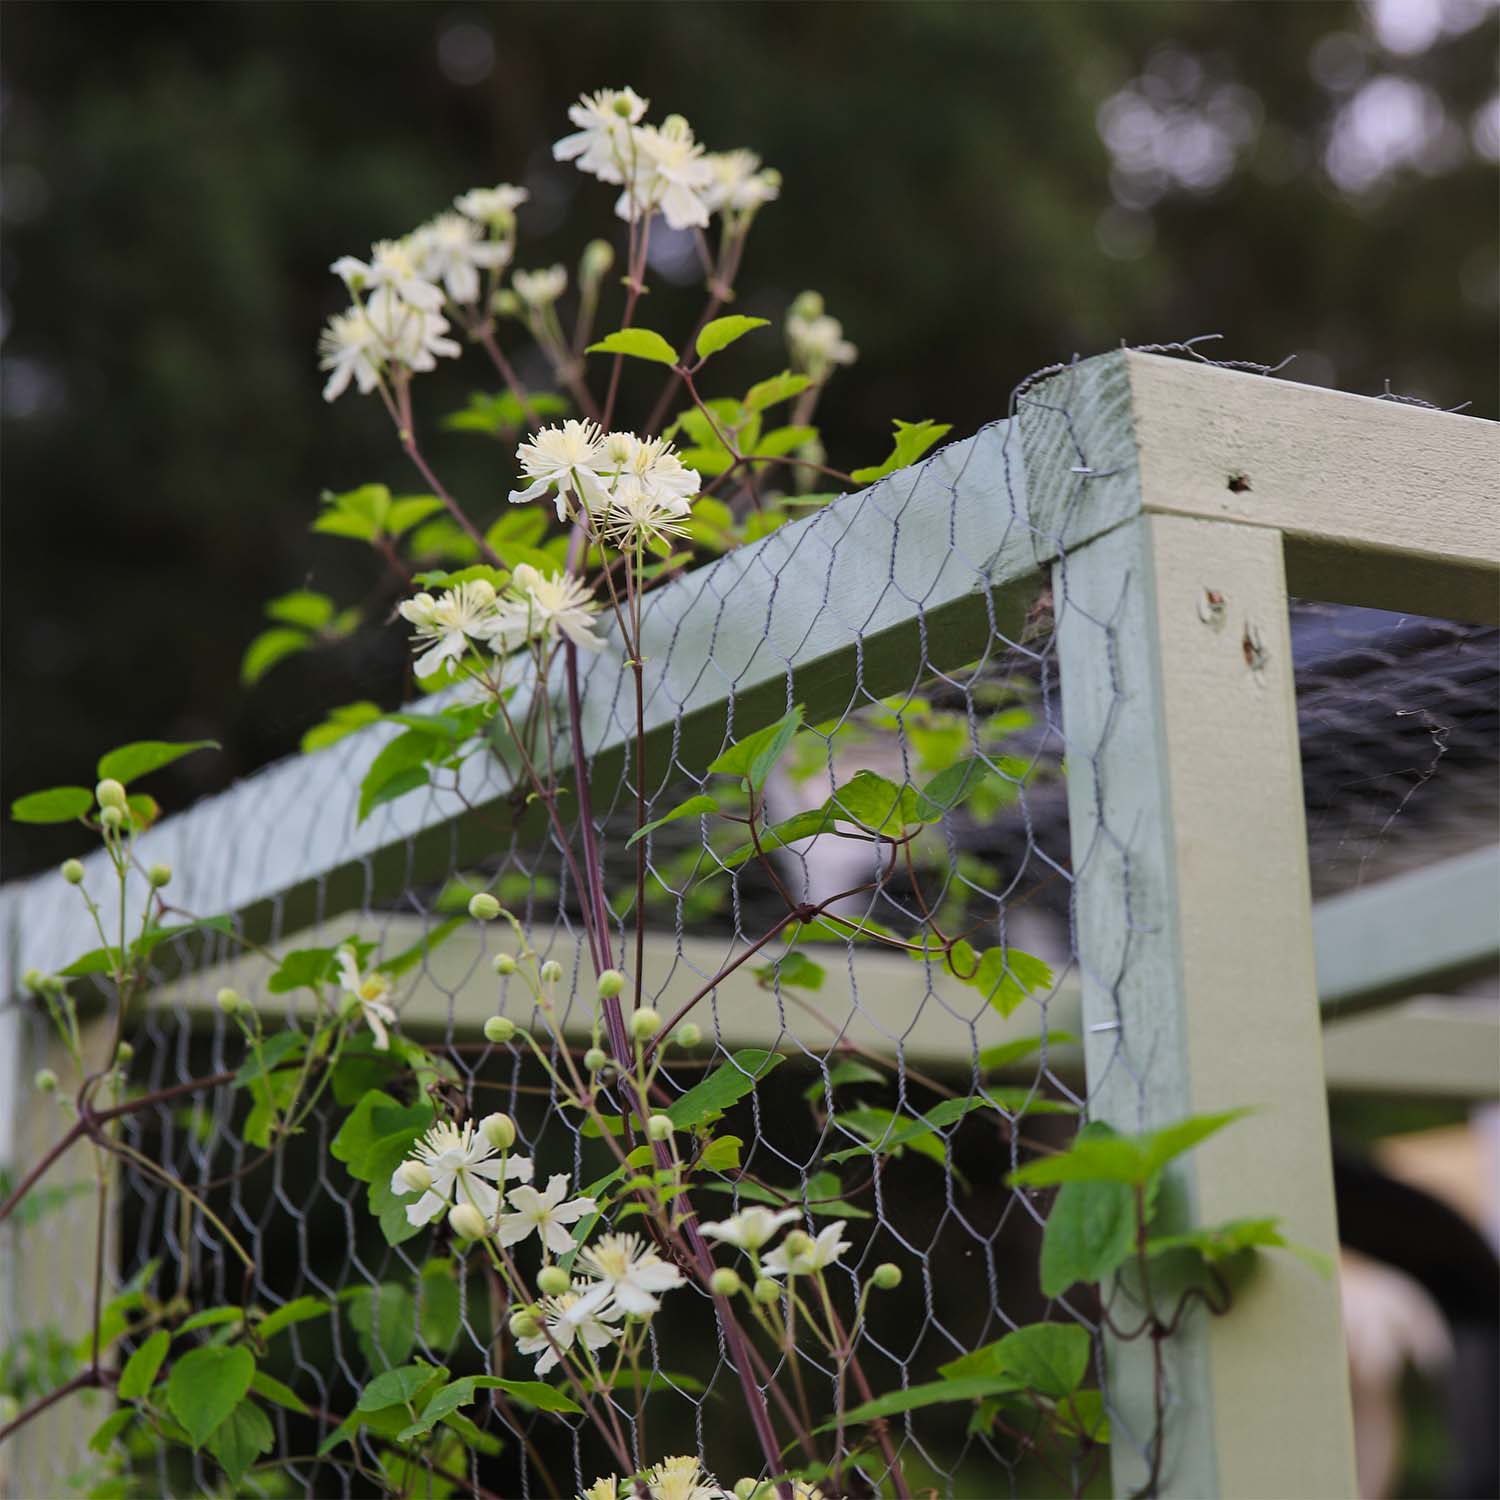
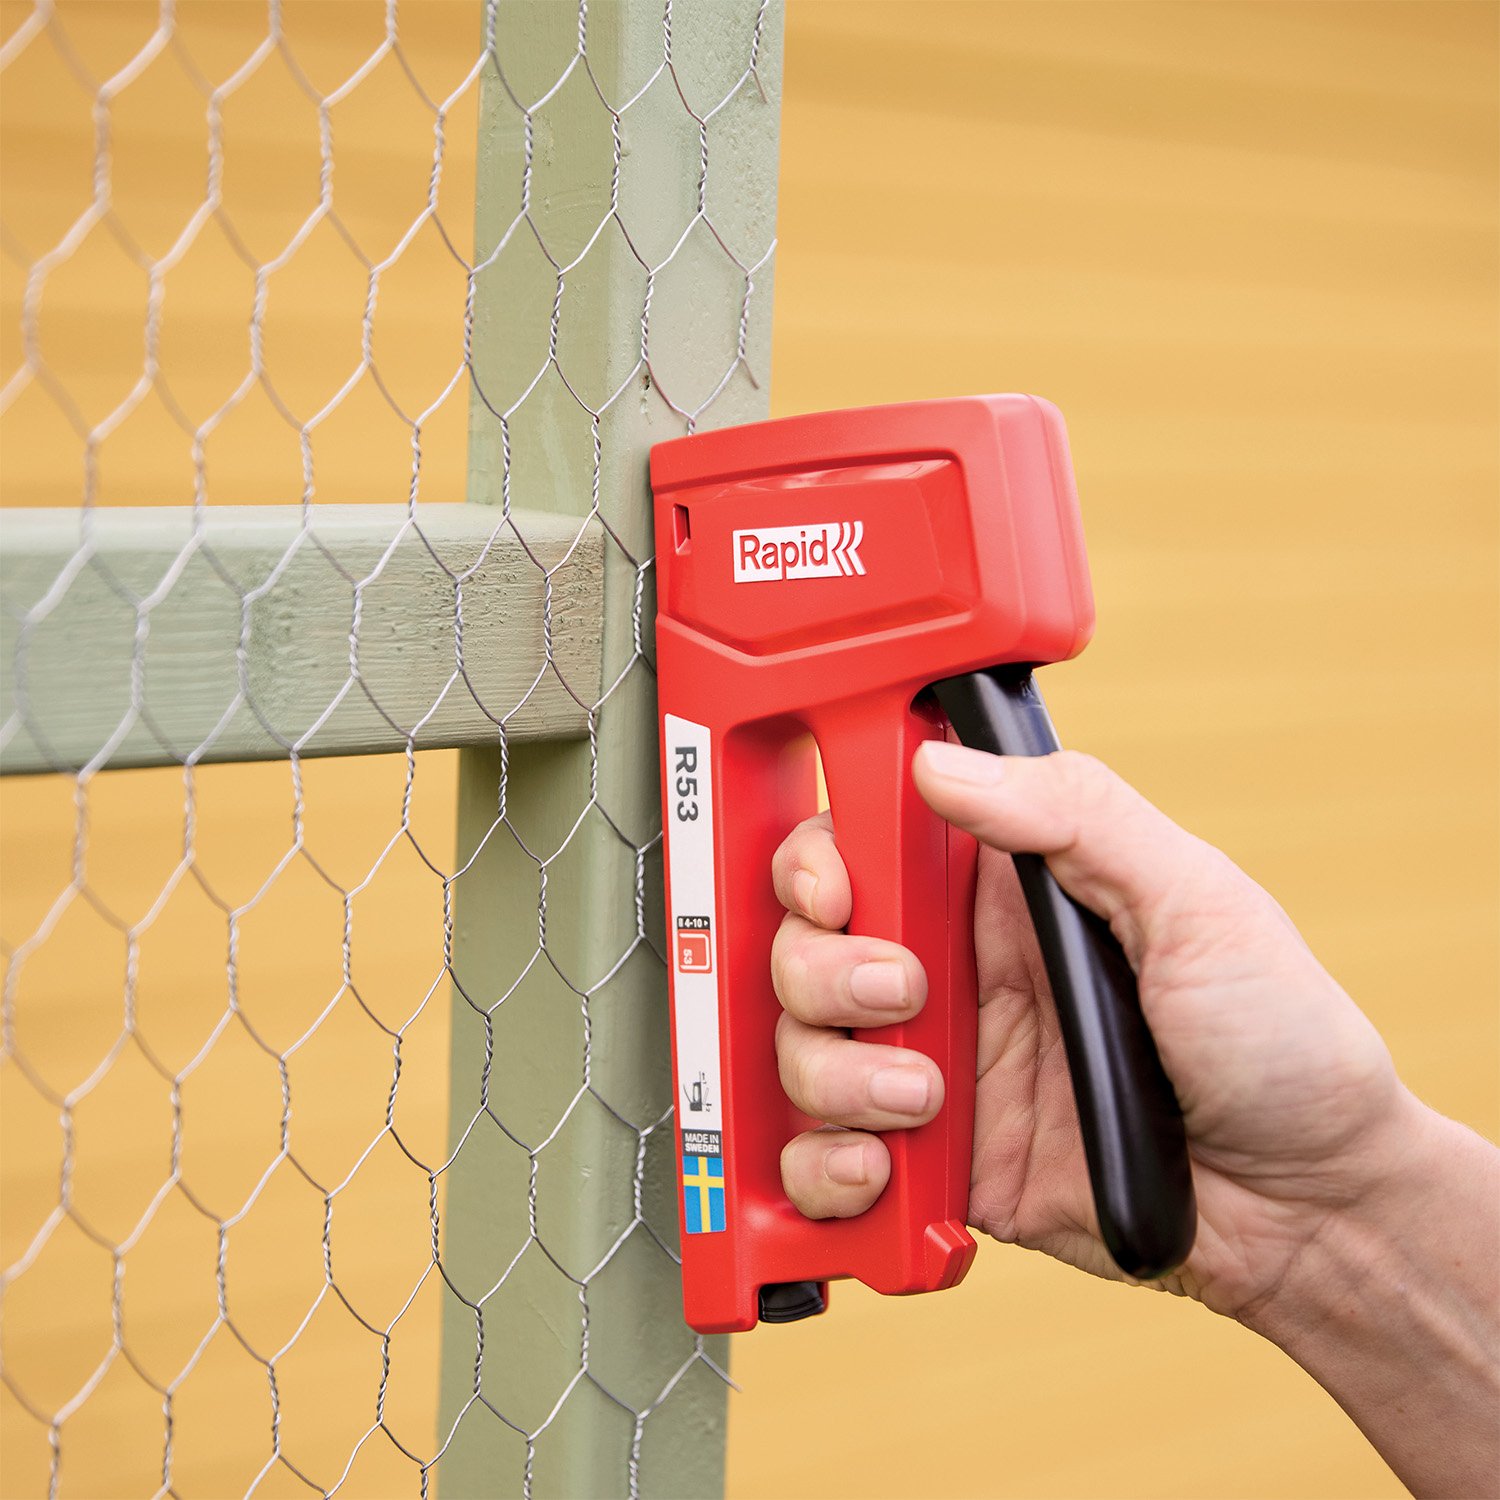
Step 4 — Add Chicken Wire
Cut the chicken wire to size using heavy-duty scissors.
Staple it to the frame using a staple gun.
For this project, we used the Rapid R53 with 6 mm fine-wire staples, which is more than enough to keep the wire securely in place.
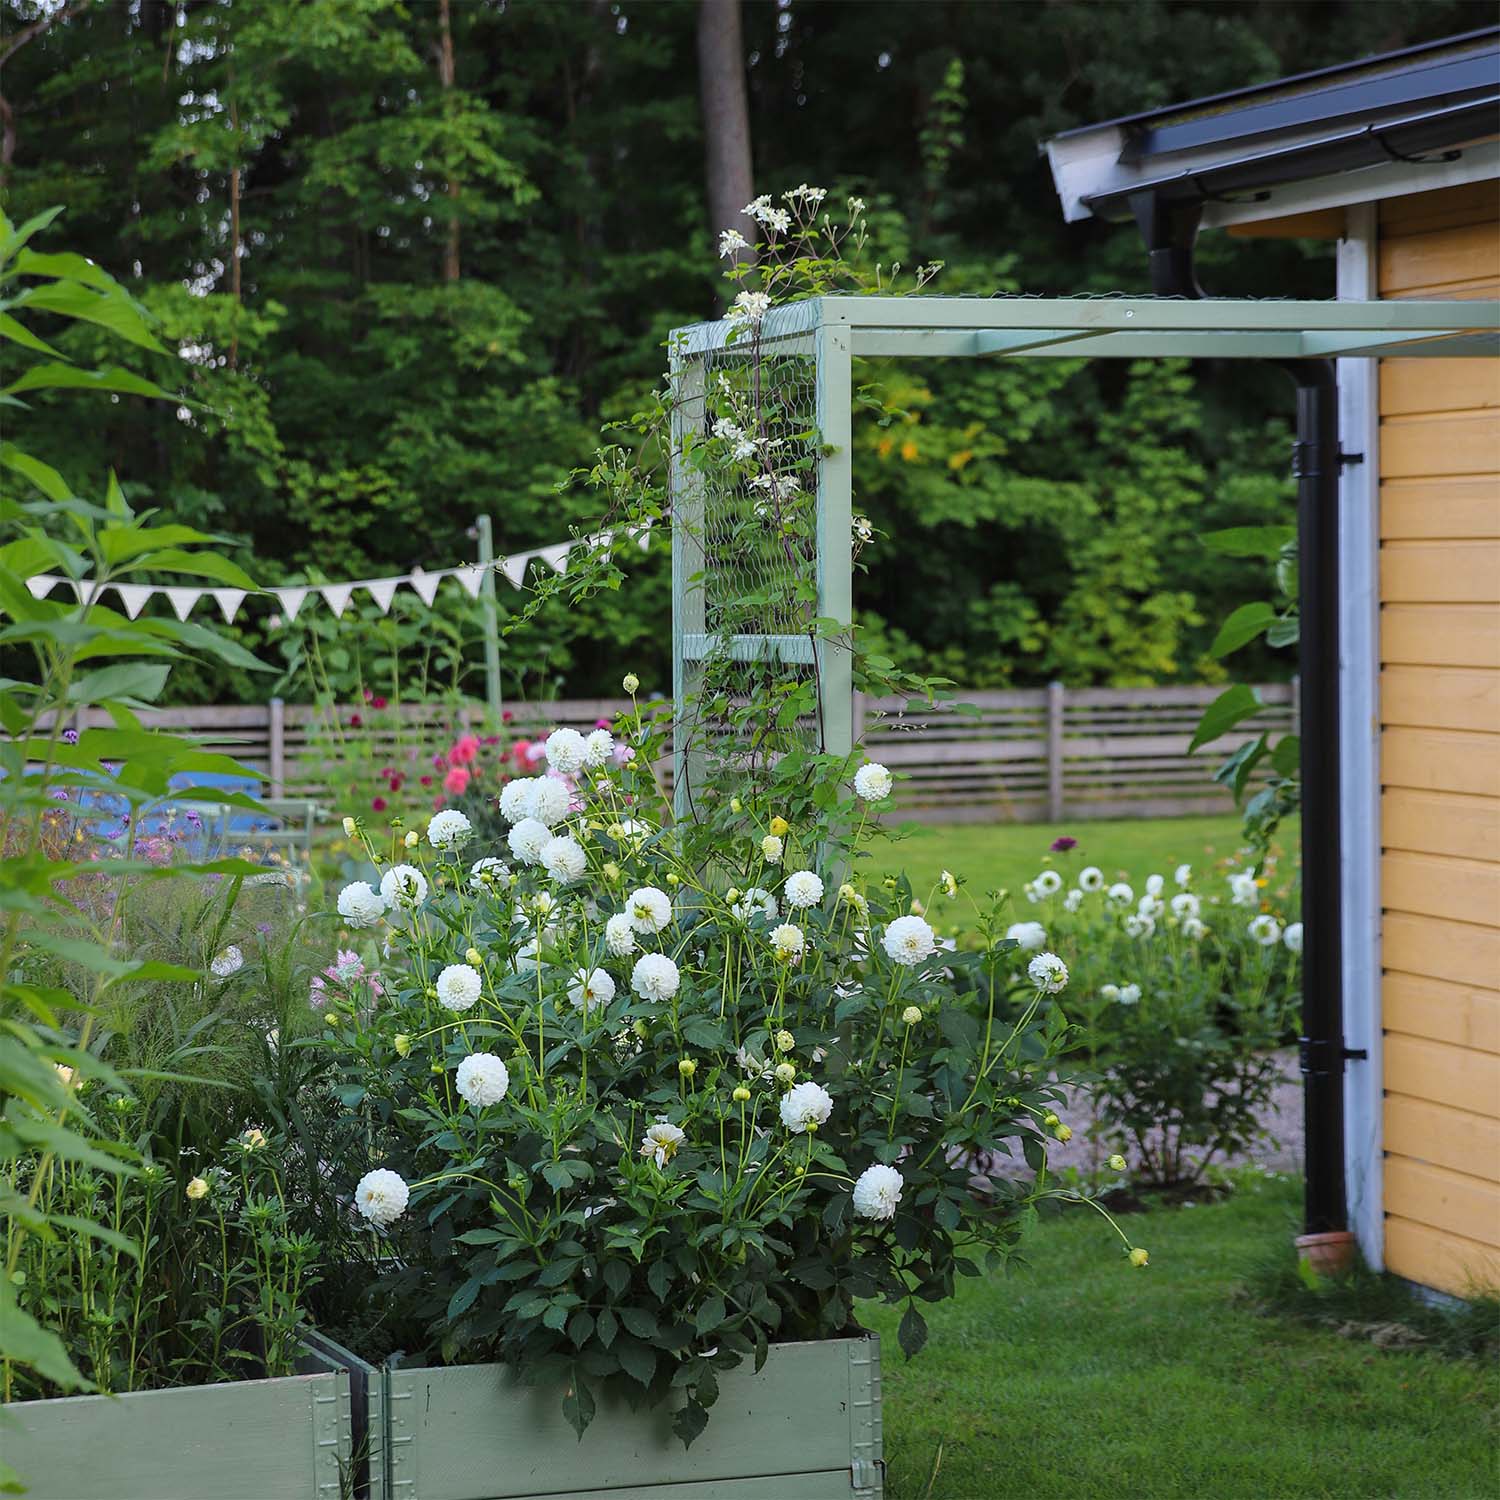
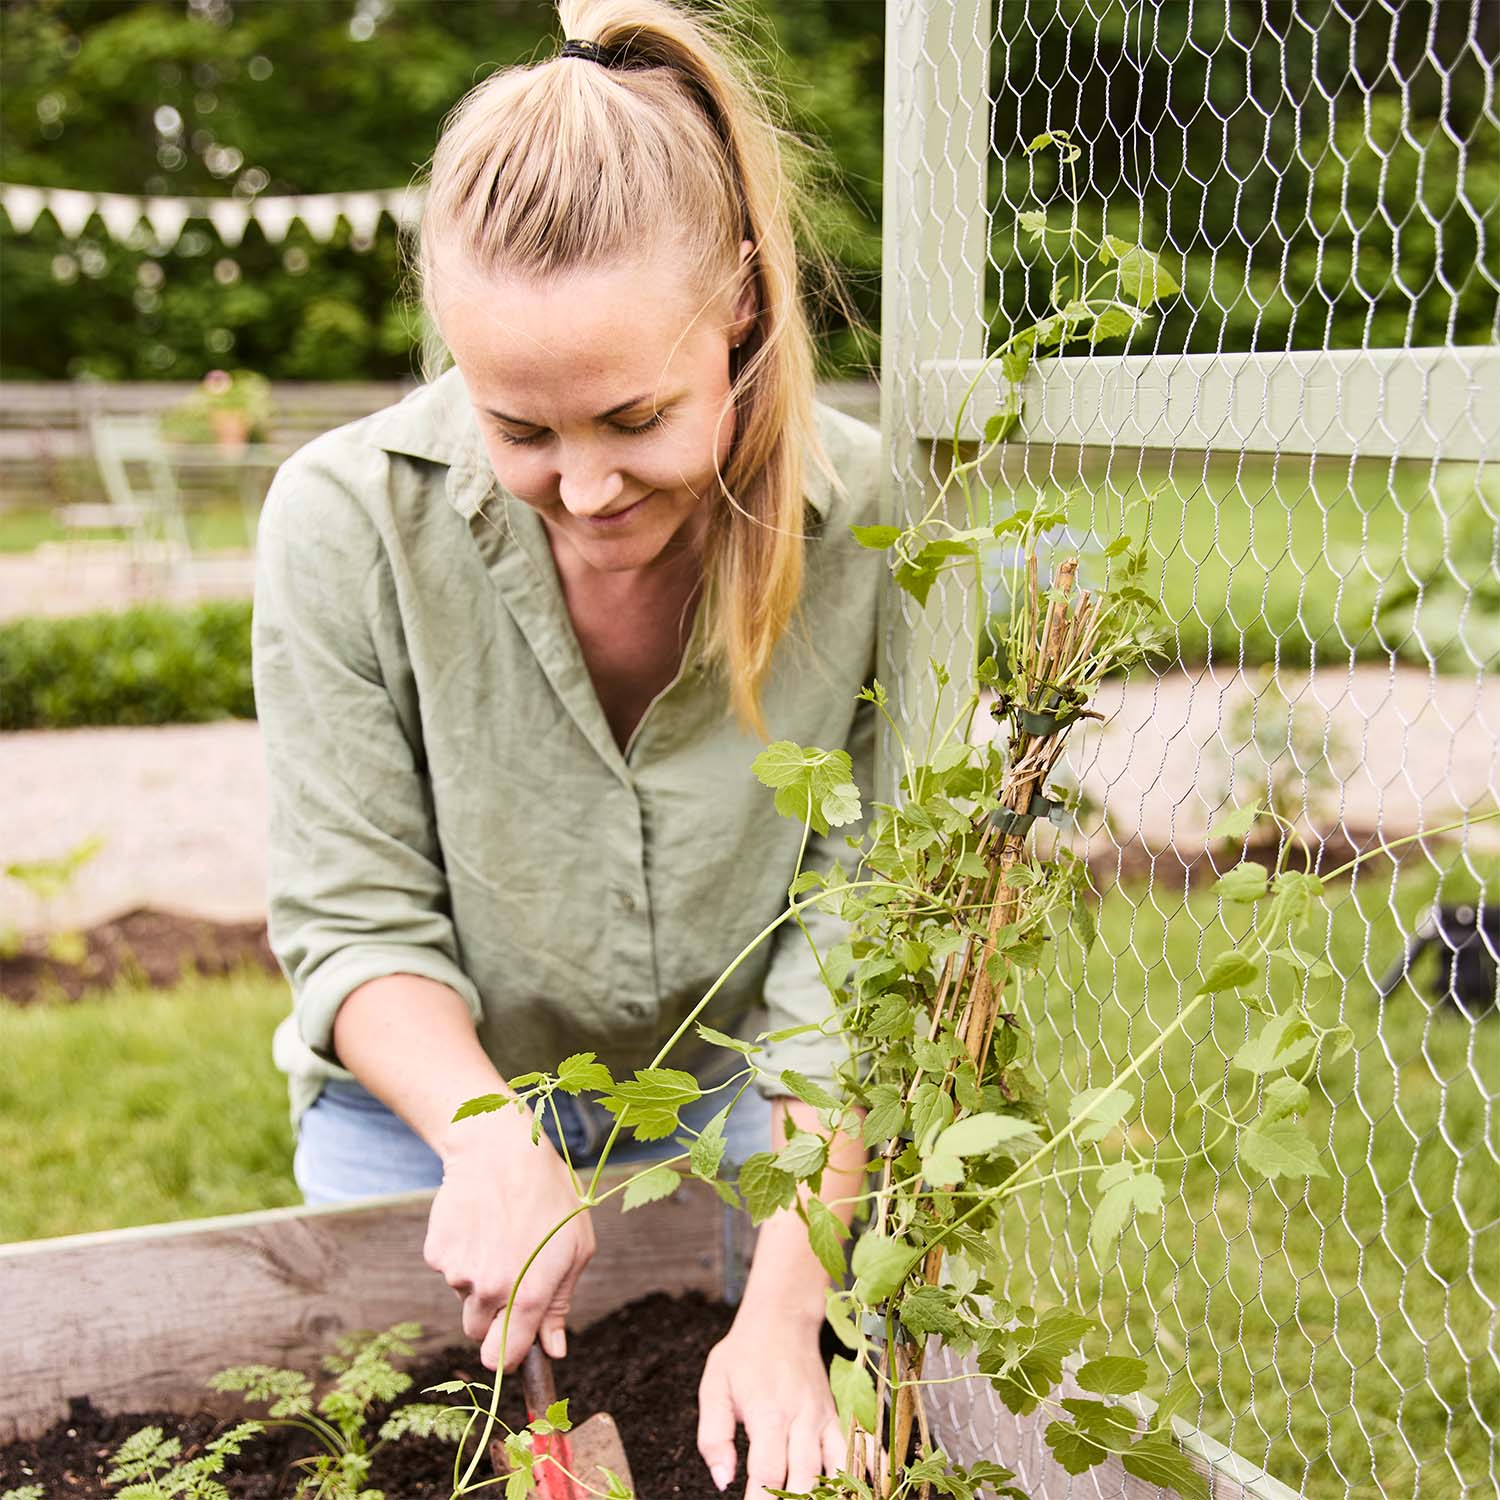
Step 5 — Plant a Climber
Time for the finishing touch: choose a fast-growing climbing plant.
A great option is Clematis “Summer Snow / Paul Farges”, which quickly creates a lush, twisting green cover over your arch.
All Done!
Your new garden archway is ready — now all you need is sunshine and a little patience. In no time at all, the plants will climb, twist, and turn your DIY build into a living piece of garden art.
Enjoy your new outdoor feature!