Custom wooden wall art adds texture and visual interest to interior spaces. Building a unique art piece requires basic woodworking tools and materials like MDF and planed oak. This project outlines the process of creating a modern, textured artwork featuring an irregular circle of oak sticks mounted on a painted background.
Materials and Tools Required
Gathering the right materials ensures a smooth assembly process. This specific design uses a painted background with natural wood accents.
- MDF board
- Planed oak boards
- Frame molding
- Wood paint
- Adhesives
- A hot glue gun
- Standard wood glue
- Tools:
- A saw for straight and 45-degree cuts
- A brad nailer
- Measuring tools
Step-by-Step Construction Guide
Preparing the Base and Frame
Start by cutting the MDF board to a 70x70 cm square. Draw a circle directly onto the center of the MDF to act as a layout guide for the wood sticks. Next, prepare the frame. Cut four pieces of wooden molding to fit the outer edges of the MDF board. Cut the ends of each frame piece at a 45-degree angle to create clean miter joints. Saw a 4mm groove along the inside edge of the frame pieces. This groove allows the MDF board to slot securely into the frame.
Painting the MDF
Apply an even coat of green paint to the front surface of the MDF board. Allow the paint to dry completely before moving on to the assembly phase. A dry surface ensures the glue will adhere properly later in the process.
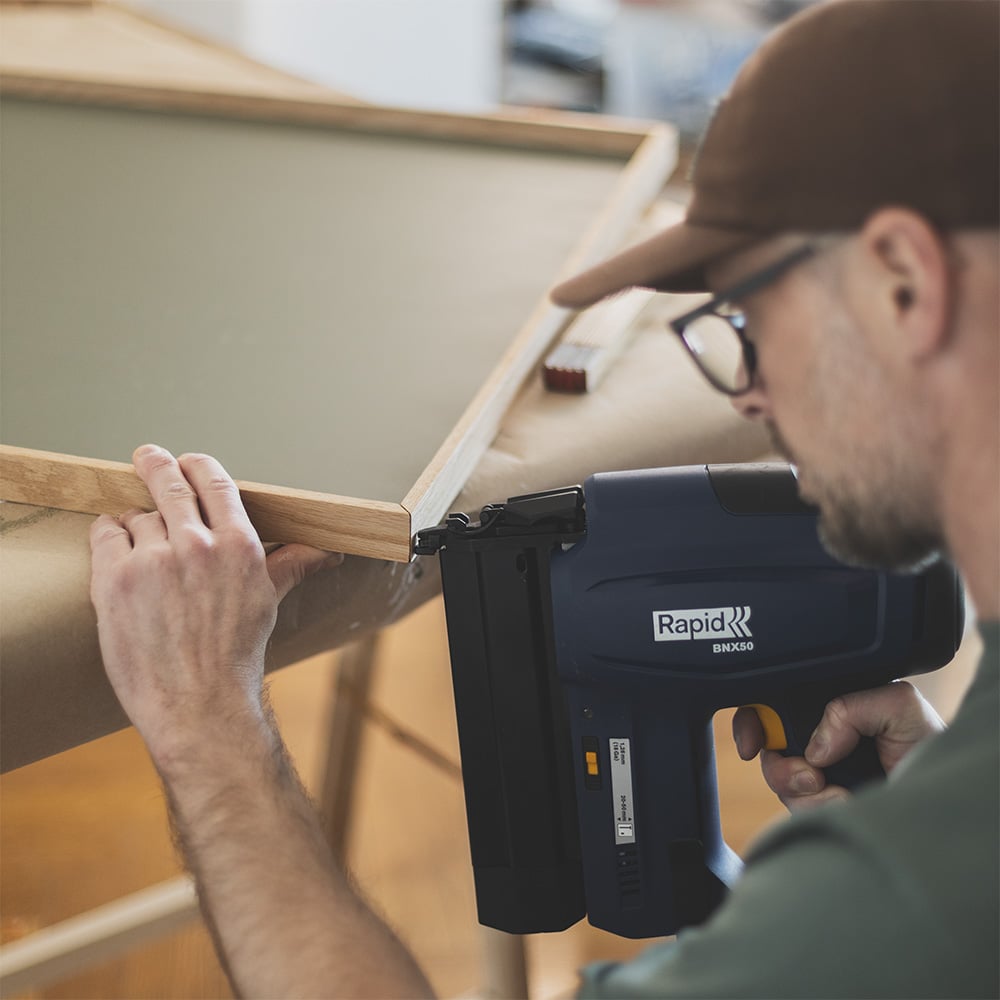
Assembling the Frame
Once the paint dries, fit the MDF board into the 4mm grooves of the frame pieces. Secure the frame corners and the backboard using a combination of wood glue and a brad nailer. This creates a rigid, stable canvas for the oak sticks.
Designing the Oak Layout
Cut the planed oak boards into sticks of varying lengths. Arrange these sticks inside the drawn circle on the painted MDF. Instead of aligning them into a perfect geometric circle, stagger the sticks up and down. This irregular placement creates a dynamic, modern shape. Adjust the pieces until the design looks balanced.
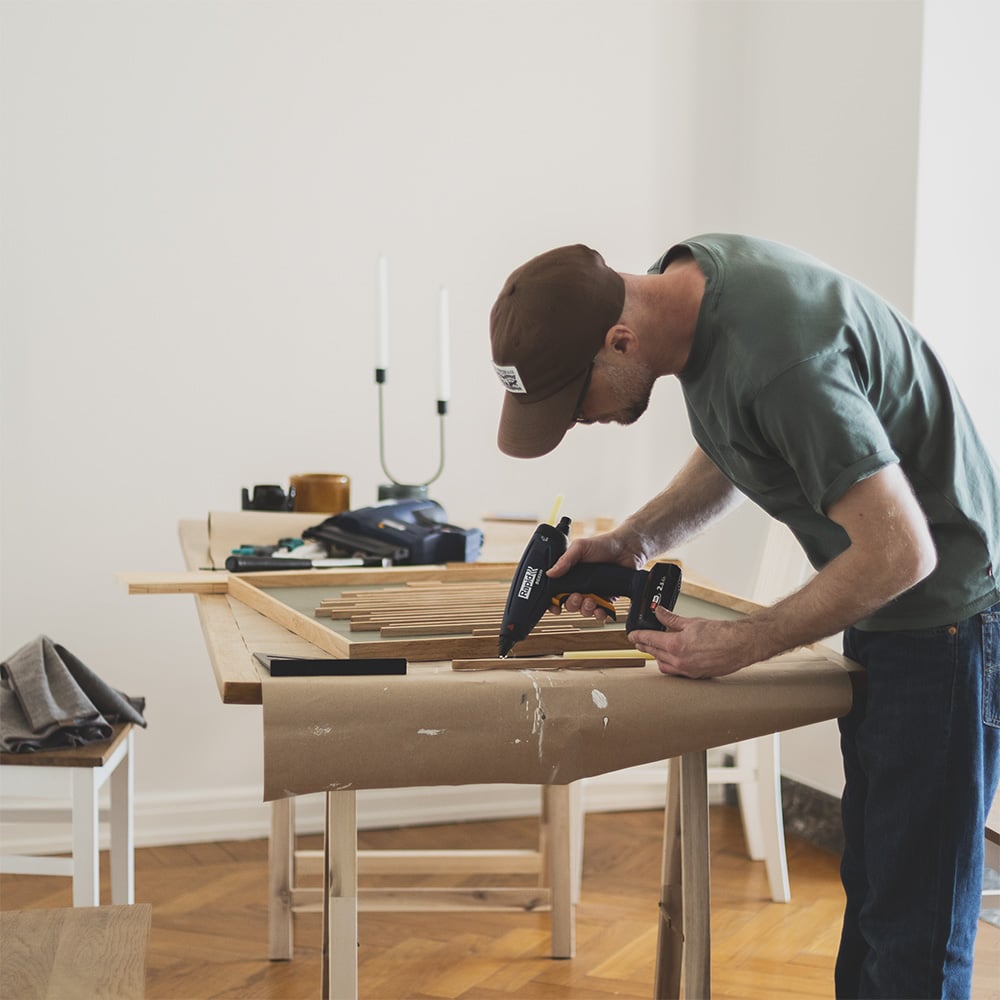
Gluing the Oak Pieces
Fastening the wood requires an adhesive that cures quickly so the pieces stay exactly where placed. A hot glue gun works perfectly for this application. Apply a thin bead of hot glue to the back of an oak stick, press it firmly onto the painted MDF, and hold it for a few seconds. Repeat this process for each stick until the entire design is secure.
Frequently Asked Questions
Why use a hot glue gun instead of wood glue for the oak sticks?
Hot glue provides an immediate bond. This fast curing time prevents the oak pieces from sliding out of place on the painted surface while drying.
Can other types of wood replace oak?
Yes. Pine, walnut, ash, or birch work well depending on the desired color and grain texture. Pine offers a lighter, budget-friendly option, while walnut provides a dark, rich contrast.
How do you attach the MDF to the frame?
Cutting a 4mm groove along the inside of the frame molding allows the MDF board to slot directly into the wood. Wood glue and brad nails secure the final assembly.
Key Takeaways
- MDF provides a stable, easily paintable background for wall art.
- Planed oak adds a high-quality, natural texture to the focal point.
- A hot glue gun ensures fast adhesion, preventing the wooden pieces from shifting.
- Mitered corners and grooved moldings give the outer frame a professional finish.

