


Installing casing with finish nails and a nail gun
Finish nails and a nail gun help you work efficiently and accurately when you install door and window casings. In addition, you always have a hand free to hold the casing with. But remember that you may need to hide the finish nail heads with plaster or paint afterwards. You can read more here about which finish nails and nail guns are best suited for installing casing.
Choosing the right finish nails when you install casing
Having a finish nail of the right length is crucial for a good result. The rule is simple: the finish nail must be three times as long as the thickness of the material that you are going to fasten. Read more in our guide:
Choosing the right length of finish nail
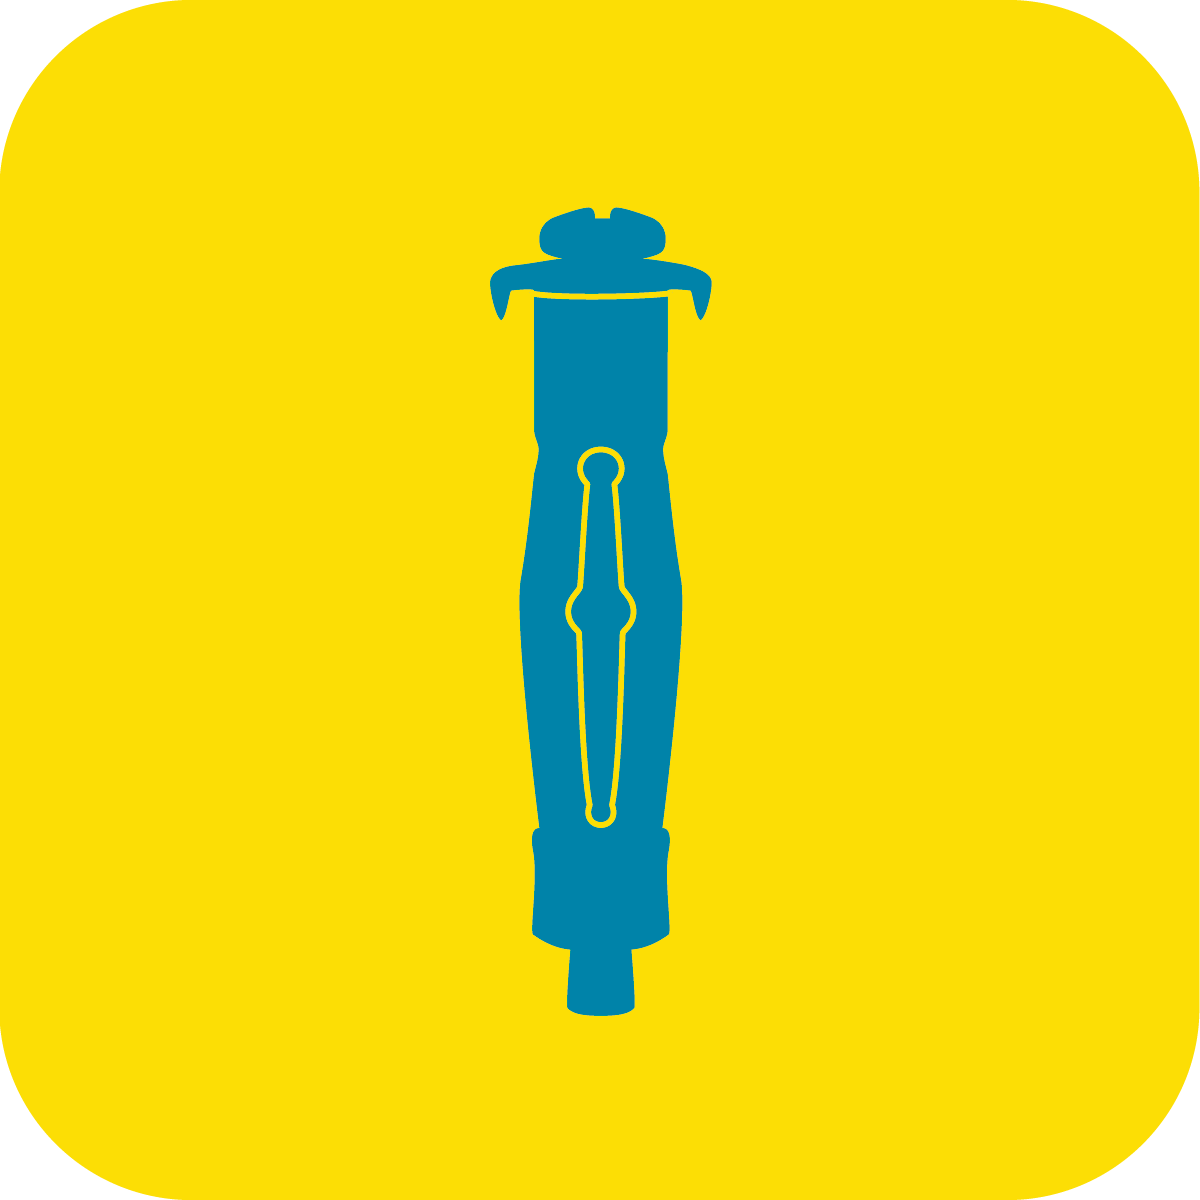
Choosing the right nail gun when you install casing
Firstly, the nail gun must be suitable for the length of finish nail you need. If you have a major project, it’s a good idea to use a pneumatic nail gun, which gives you extra power and efficiency. But this does mean of course that you will need a compressor. For minor projects, we recommend an electric nail gun with a power cord or battery.
A few tips when you install casing with finish nails
Make sure that the casing is at room temperature
Leave the casing in the room for 24h before you fasten it. It makes the work easier and reduces the risk of cracks.
Hold the nail gun straight
Hold the nail gun parallel to the floor. The nail gun’s nozzle must be placed right against the casing when you drive in the finish nails.
Measure carefully beforehand
Measure the different casing sections carefully and cut them with a mitre saw to get precision intersections.
Nail down both edges
If the casing is wider than 5 centimetres, you should nail down both edges. Nail into each stud – the standard distance between studs is 60 cm on inner walls.
Countersink with a nail driver
If a finish nail head is sticking out after nailing, you can use a nail driver to countersink it into the casing to avoid hammer marks.
Glue the joints
Apply wood glue between the joints of different casing elements to hide gaps. Use a glue that is suitable for the material.
Good luck with your project!